How to Upload a C-File to VCH
This guide explains how to download a Veteran’s C-File from Caseflow eFolder Express and upload the zipped C-File to VCH for storage and optional AI C-File analysis.
Before you begin
Before accessing Caseflow eFolder Express, confirm that your firm has submitted a VA Form 21-22a power of attorney for the client through VCH and that the document status shows VBMS in VCH. The 21-22a must be accepted by VA before the C-File can be pulled in eFolder Express.
Important: Caseflow eFolder Express is only available while logged into the VA network with a PIV card and the proper credentials.
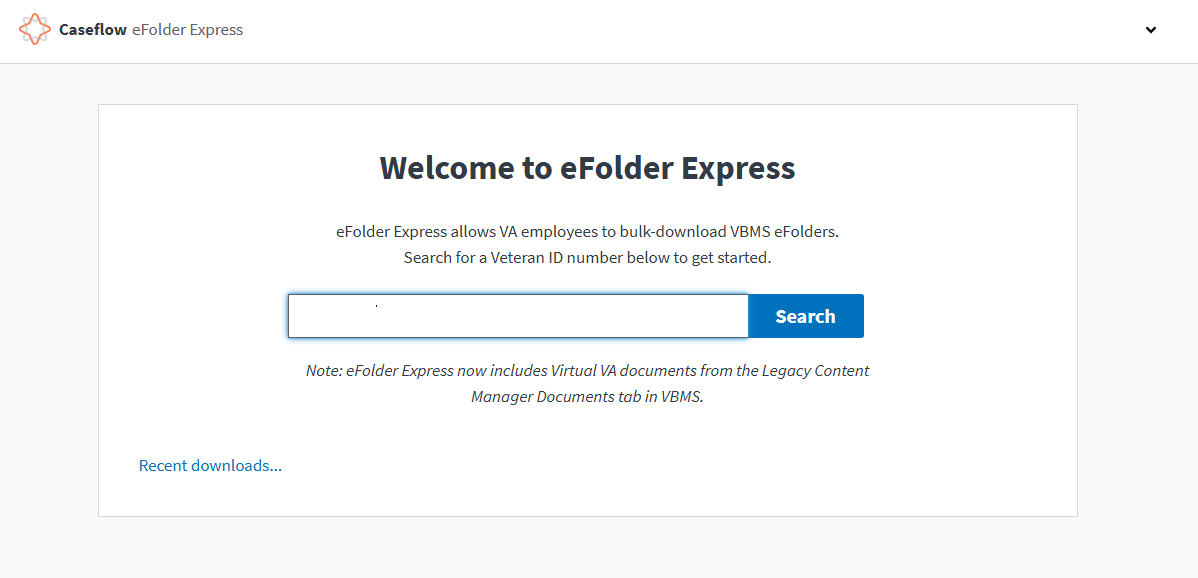
Step 1: Open eFolder Express
Go to https://cf.ds.va.gov/, enter your firm’s Station ID, and select Continue to PIV Login.

Step 2: Search for the Veteran
Enter the Veteran ID or Social Security Number in the search field, then select Search.
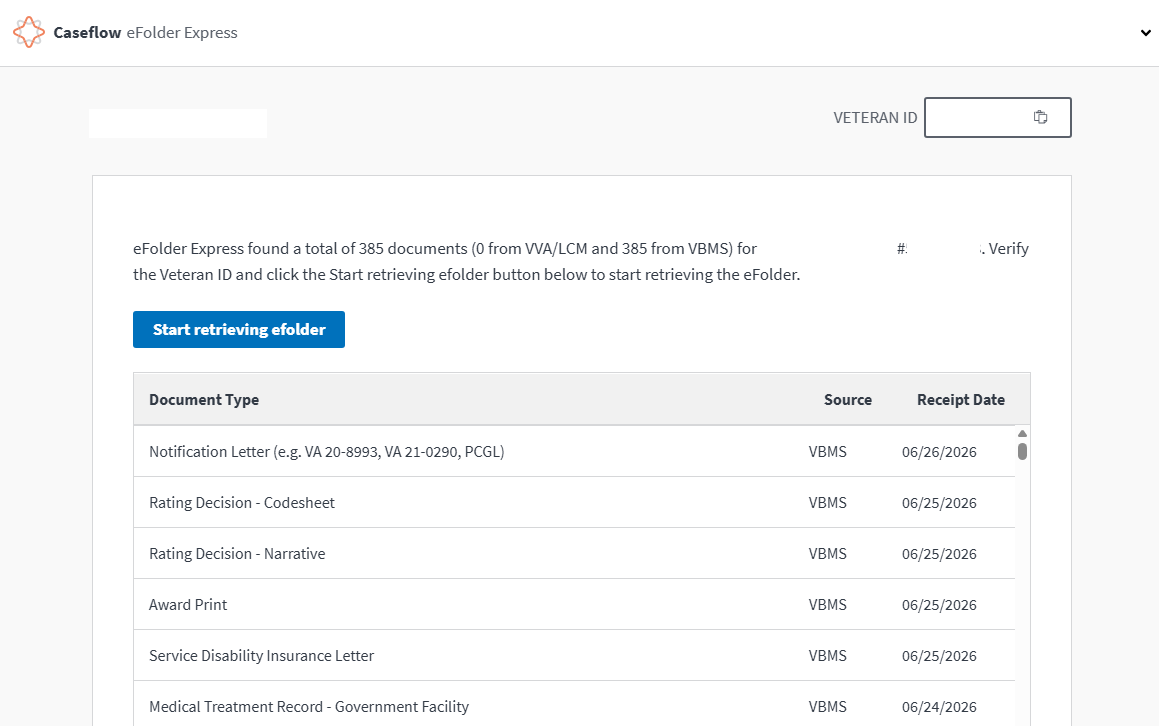
Step 3: Start retrieving the eFolder
If the search is successful, the Veteran’s documents will populate in a table. To help confirm that all documents have loaded, refresh the page twice. Then select Start retrieving efolder.
Step 4: Wait for retrieval to finish
eFolder Express will retrieve the files in the background. You can leave the page open while it works.
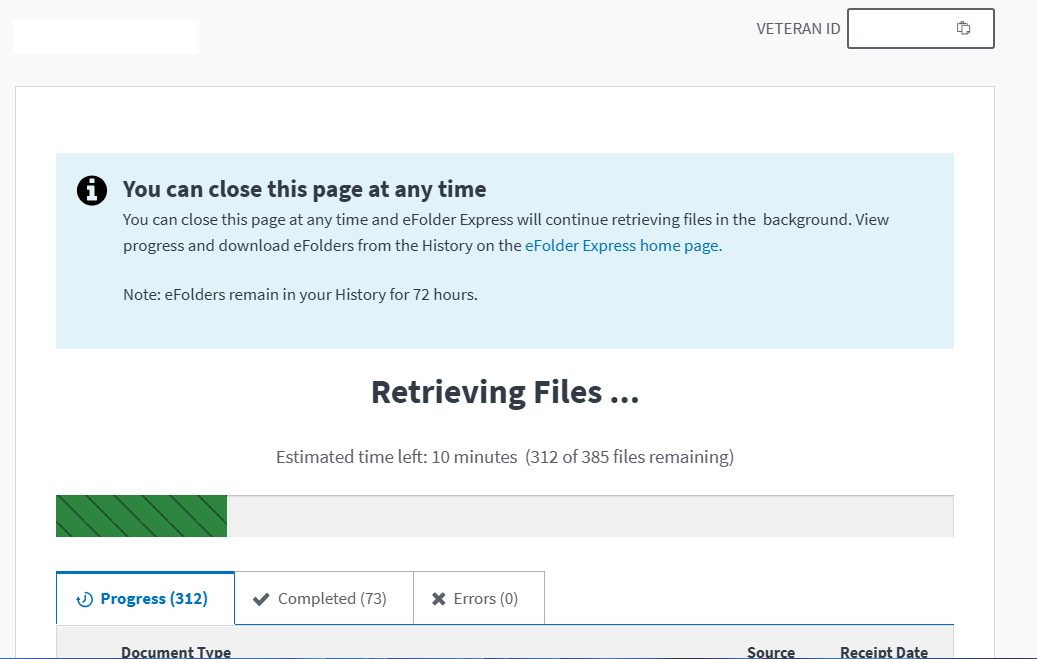
Step 5: Download the eFolder
Once retrieval is complete, select Download efolder. Consider adding the date to the downloaded C-File filename so your firm can distinguish multiple pulls for the same Veteran over time.

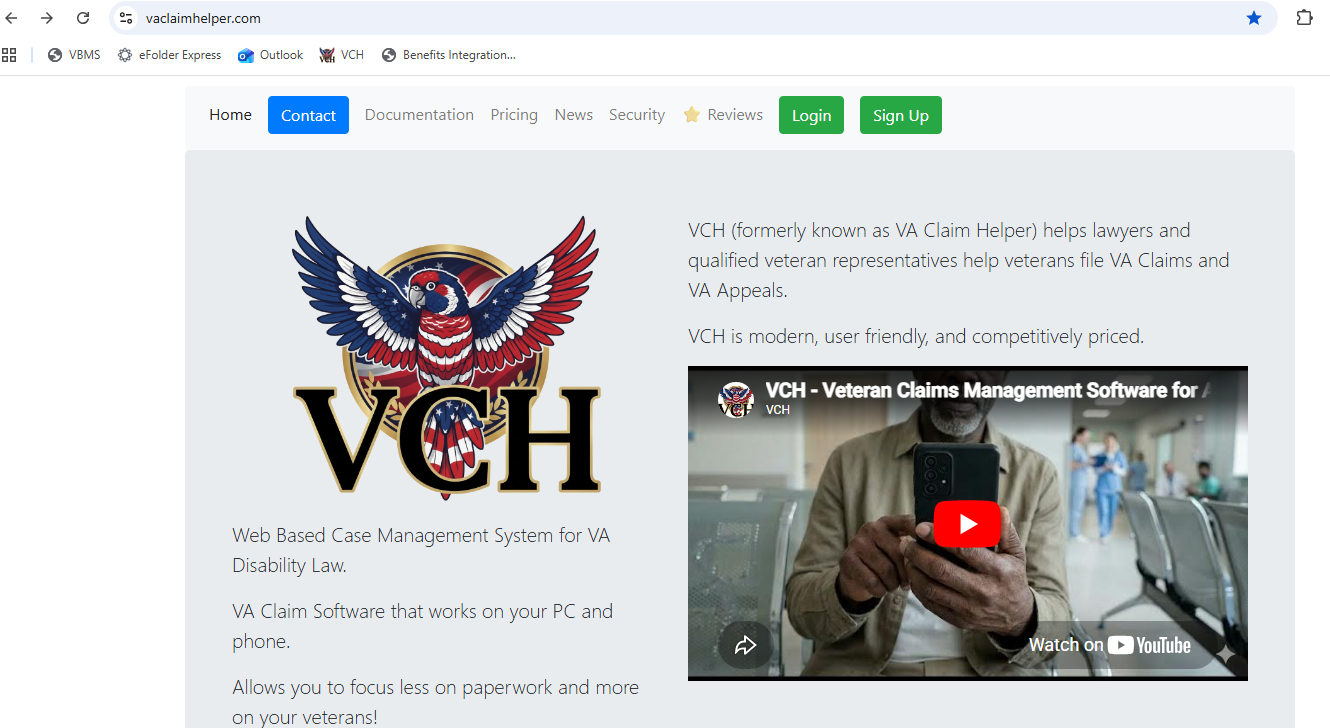
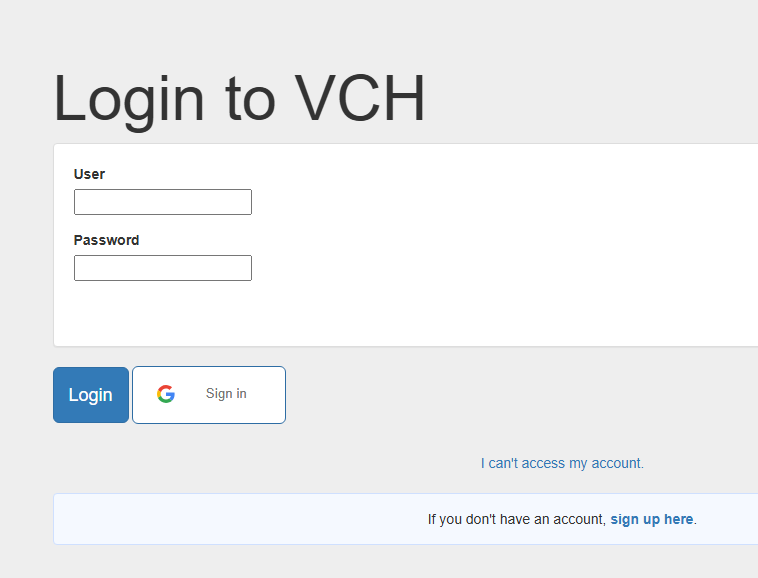
Step 6: Log in to VCH
Go to https://vaclaimhelper.com/ and select the green Login button at the top of the page.
Enter your VCH login credentials and select Login.
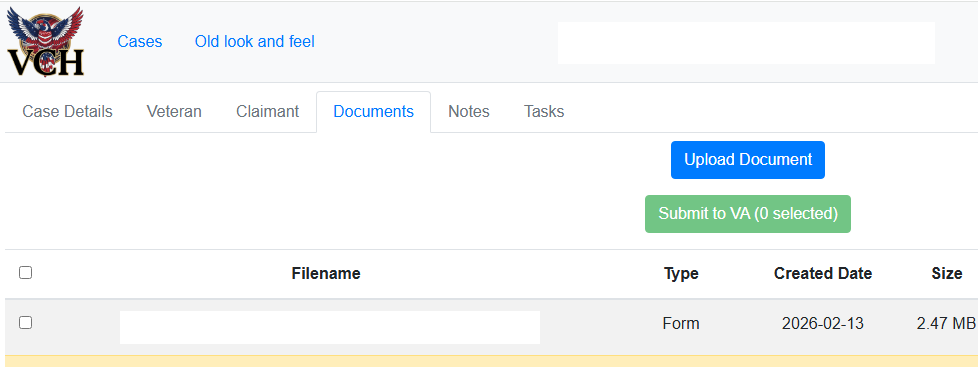
Step 7: Open the Veteran’s Documents tab
Open the Veteran’s case in VCH, then select the Documents tab. Select Upload Document.
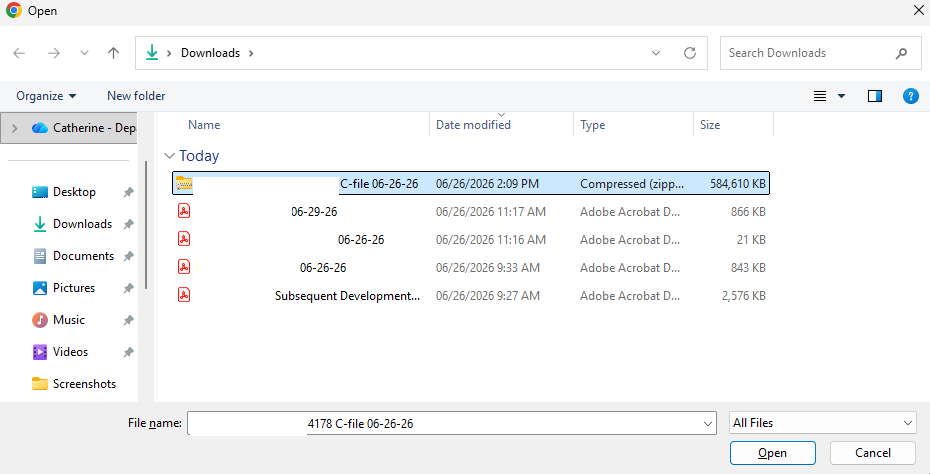
Step 8: Select the downloaded C-File ZIP
The C-File ZIP often downloads to the Downloads folder in the VA network environment. Select the zipped eFolder file downloaded from eFolder Express.
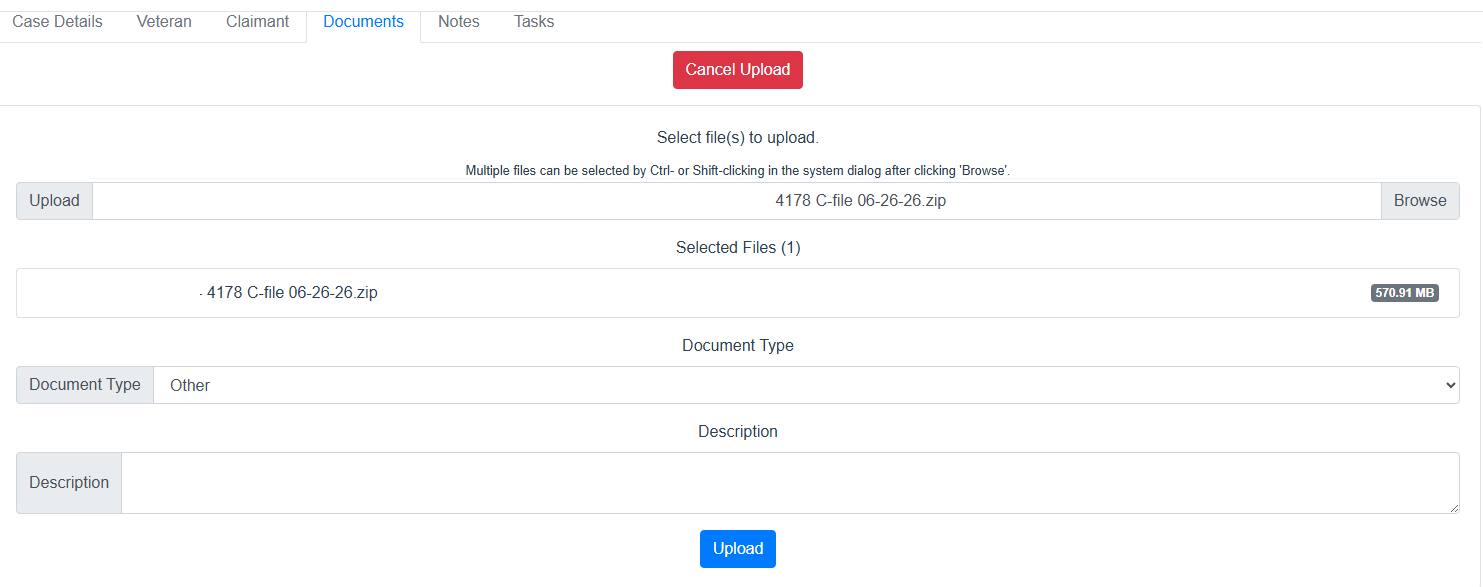
Step 9: Upload the ZIP to VCH
After selecting the ZIP file, set the document type as needed and select the blue Upload button.
Step 10: Allow time for the upload to complete
Please allow at least 10 minutes for large C-File uploads. When the upload is successful, the C-File will appear in the Documents tab.

After the upload
Once the C-File ZIP appears in the Documents tab, you can the use VCH C-File analysis features for that C-File by clicking the green C-File AI Analysis button.